Any homeowner would want to know exactly what process goes behind erecting their homes. But the fact that construction is an extremely complicated process often discourages people from delving into it. The details for making foundations, columns, beams, etc. may be difficult to understand, but the actual stages of construction need not be. Having access to this information helps users understand the timeline and finances that will be spent on building their homes. This entire process can be divided into 7 stages. Foundation & Plinth, Load Bearing Elements & Blockwork, Slab, Fenestration & Fixtures, and finally internal finishes.
You start with the purchase of a site where you intend to build the house. After clearing all legal formalities, the first stage is to prepare the site for construction. Demarcations are made on the land-based on design drawings and soil is excavated to make pits for the foundation. It is important to dig until solid bedrock is reached. In case the pit is too deep, soling is done to reach a feasible depth. Soling is the process of packing rubble tightly, to increase the bearing capacity of the soil. It also provides a uniform level for the PCC bed to be cast upon. Plain Cement Concrete or PCC bed is the lowermost strata of material, on top of which the footing of the foundation is cast. A column starter of 100-150mm is prepared for alignment of the actual columns, which themselves go up to plinth level. After appropriate curing time has passed, the trenches around each foundation are filled up to the ground level.
With the column reinforcements rising above the plinth level, the shuttering for plinth beams is prepared. RCC is poured into it and allowed to be cured. This structure is the first one rising above ground level. With the plinth beams completed, a damp proof coursing is given to the structure to give it protection against the capillary action of water. If not done, the structure may absorb water from the ground through capillary action, leading to problems such as the decrease in strength of the structure, leakages post finishing, etc. The pits that the beams enclosed are then filled in through soling. A 100-150mm layer of PCC is poured on top of this filling to align with the plinth level. This will be the base for all the floor finishes of your house.
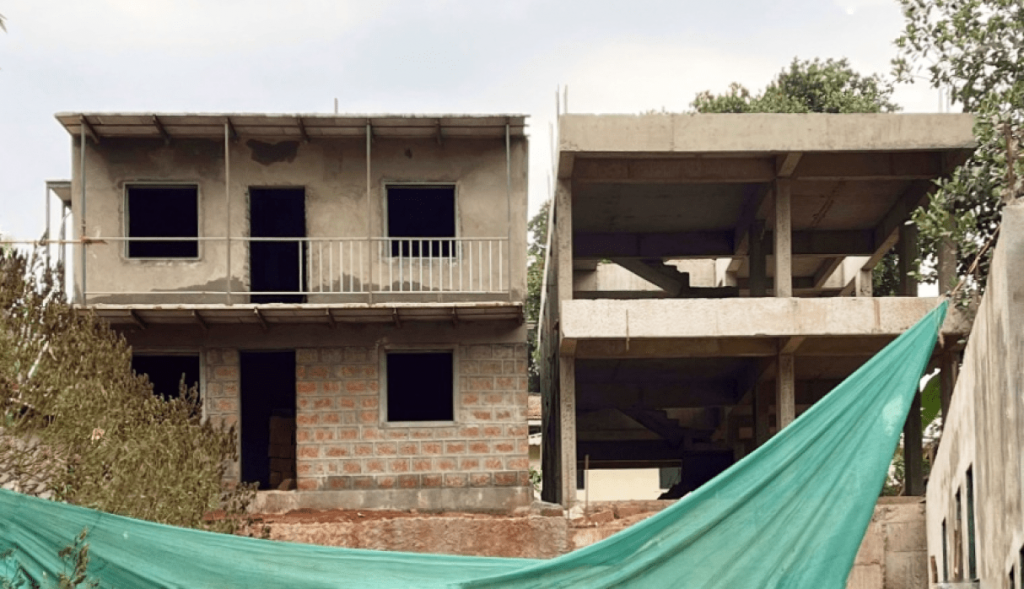
The second stage of construction can be done in two ways, through Visava. It can either be a framed construction or a load-bearing construction. Either way, this layer is what comes in between floors of the house, and the process repeats as many times as there are floors to it. In the framed construction method, the columns are cast up to the bottom of the next floor’s ceiling, while their reinforcement continues further up. Next, masonry work begins. In framed construction, masonry does not serve any load-bearing purpose and is mainly decided based on its availability and geography. In the case of load-bearing structures, there are no columns and beams. The load of the structure is on the walls themselves. Hence, accurate masonry must be chosen to prevent any mishaps. In both cases, voids are left in the location of the fenestration as per design drawings and the walls are completed accordingly. The first leg of the staircase is constructed at this point up to the landing level.
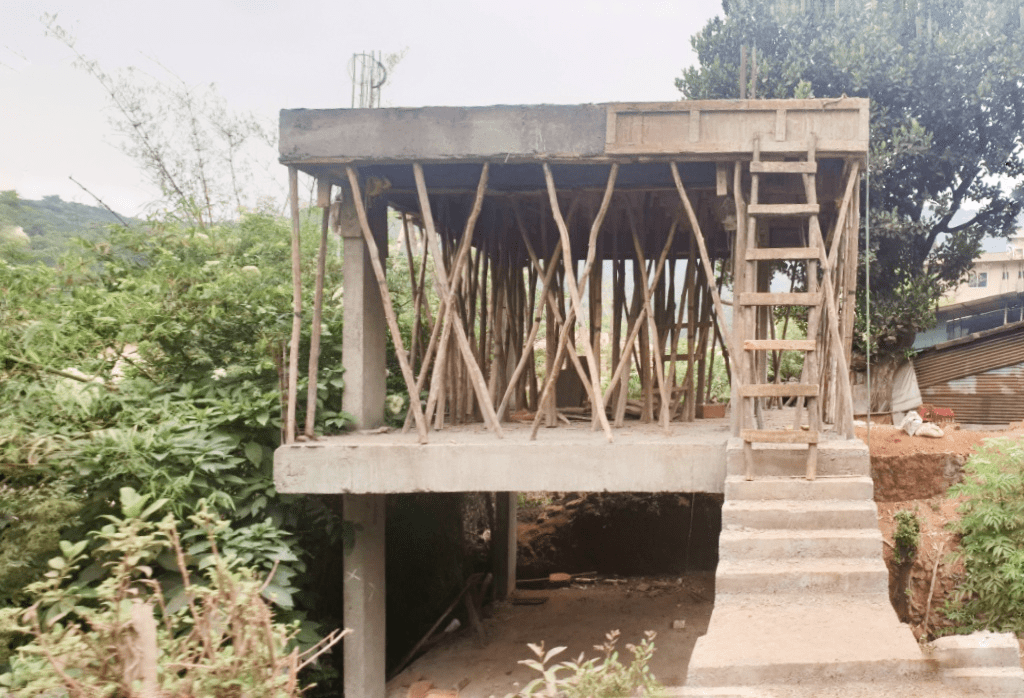
For a single-storied house, the third stage could be the last stage of constructing the superstructure. Appropriate shuttering for the slabs and beams is created to pour RCC into. It is important to remember that since this process forms a monolithic element, its curing needs to be done appropriately. The second leg of the staircase is also cast into place through shuttering, and the staircase connects to the upper level of the slab. A waterproofing layer is applied on top of the slab to prevent the exchange of water or dampness. The second stage may repeat itself above this, depending on the design of the house.
On the ground floor, work proceeds towards fenestration details. Door and window frames are fitted into the voids left earlier, while a fabrication unit produces and assembles the various doors and windows required for installation. Site dimensions always vary from the design drawings so until the structure isn’t erected on site, the sizes of these fixtures should not be finalized either. Meanwhile, the upper floor is under construction. Mechanical, Electrical, and Plumbing fixtures are also added to the structure at this point. Around these fixtures, the internal finish layer will be added, which is the final stage of construction for a particular level. This includes floor tiles, plastering of walls, painting of walls, false ceilings, and any kind of internal cladding such as wooden pleats, stone, etc. Internal finishes can be done before the construction of the entire structure is completed.
We are constantly striving toward making Visava an accessible tool, and creating resources that make it easy for all to use. Understanding the various stages of construction should help them get acclimatized to the details of the process. We believe it should also help them understand the timeline of the project. A well-planned schedule of construction ensures that multiple stages can be active simultaneously on site. One does not have to wait for all floors to be completed to begin the fenestration, fixture, or finish work for a particular floor or even a room. As long as a slab has been completed to weatherproof the area, such activities can be initiated. Strategies such as this reduce the overall time taken for construction. It also creates opportunities for saving money and resources. Thus, understanding the process of construction can be an important knot to be resolved. It leaves the user with a straighter line to follow towards their dream home.